Kickstarter has a blunt rule for hardware creators: show a working prototype, and no photorealistic renderings. The logic is trust, since a render can show a product that doesn't work yet. On a company website, most hardware founders we meet have the opposite problem: the product is real, and a photo still can't show why it matters.
That was true for nearly every hardware client we've worked with. The products behind Hylight, BotBlox, Skipper NDT and Kestrix already existed or were well advanced. Yet to show how they work, what's inside them or the process they run, 3D was unavoidable. Here is how we decide what to show, and how to do it without losing the trust Kickstarter's rule protects.
Why a photo of your hardware rarely sells it
A photo shows the outside of a product, and most of the value of hardware sits inside it or in what it does over time. A sealed enclosure looks like every other sealed enclosure. A networking board the size of a coin looks like a component, not a breakthrough.
That matters because visitors judge fast. The Stanford Web Credibility guidelines, a foundational study from 2002 based on more than 4,500 participants, put it simply: people quickly evaluate a site by visual design alone. For a hardware company, the product visual is the design. If it shows nothing, the visitor concludes there is nothing to see.
Four situations come up again and again:
- The value is inside: electronics, sensors, a mechanism behind a casing.
- The scale misleads: the product is tiny, huge, or only makes sense on the machine it equips.
- The function happens over time: a sequence, a movement, a process with steps.
- The physics is invisible: heat, magnetic fields, radio signals, data.
Five visuals that show what a photo can't
Each visual answers one question a buyer or investor is asking. Pick them by question, not by what looks impressive.
1. The exploded view: how is it built?
An exploded view separates the parts along their assembly axis, so engineers can read the architecture in one image. It signals rigor to a technical buyer and gives a generalist a sense of what went into the product.
2. The cutaway: what matters inside?
A cutaway opens the product to reveal one component in its real position: the sensor, the battery, the board that makes the difference. Use it when your advantage is a single part that nobody can see once the product is closed.
3. The operating animation: what does it actually do?
A short animation shows the product doing its job, step by step. On the Hylight site, the airship is built in 3D so visitors understand the inspection mission in a few seconds of scroll, something no still image could carry.
4. The environment shot: where does it work?
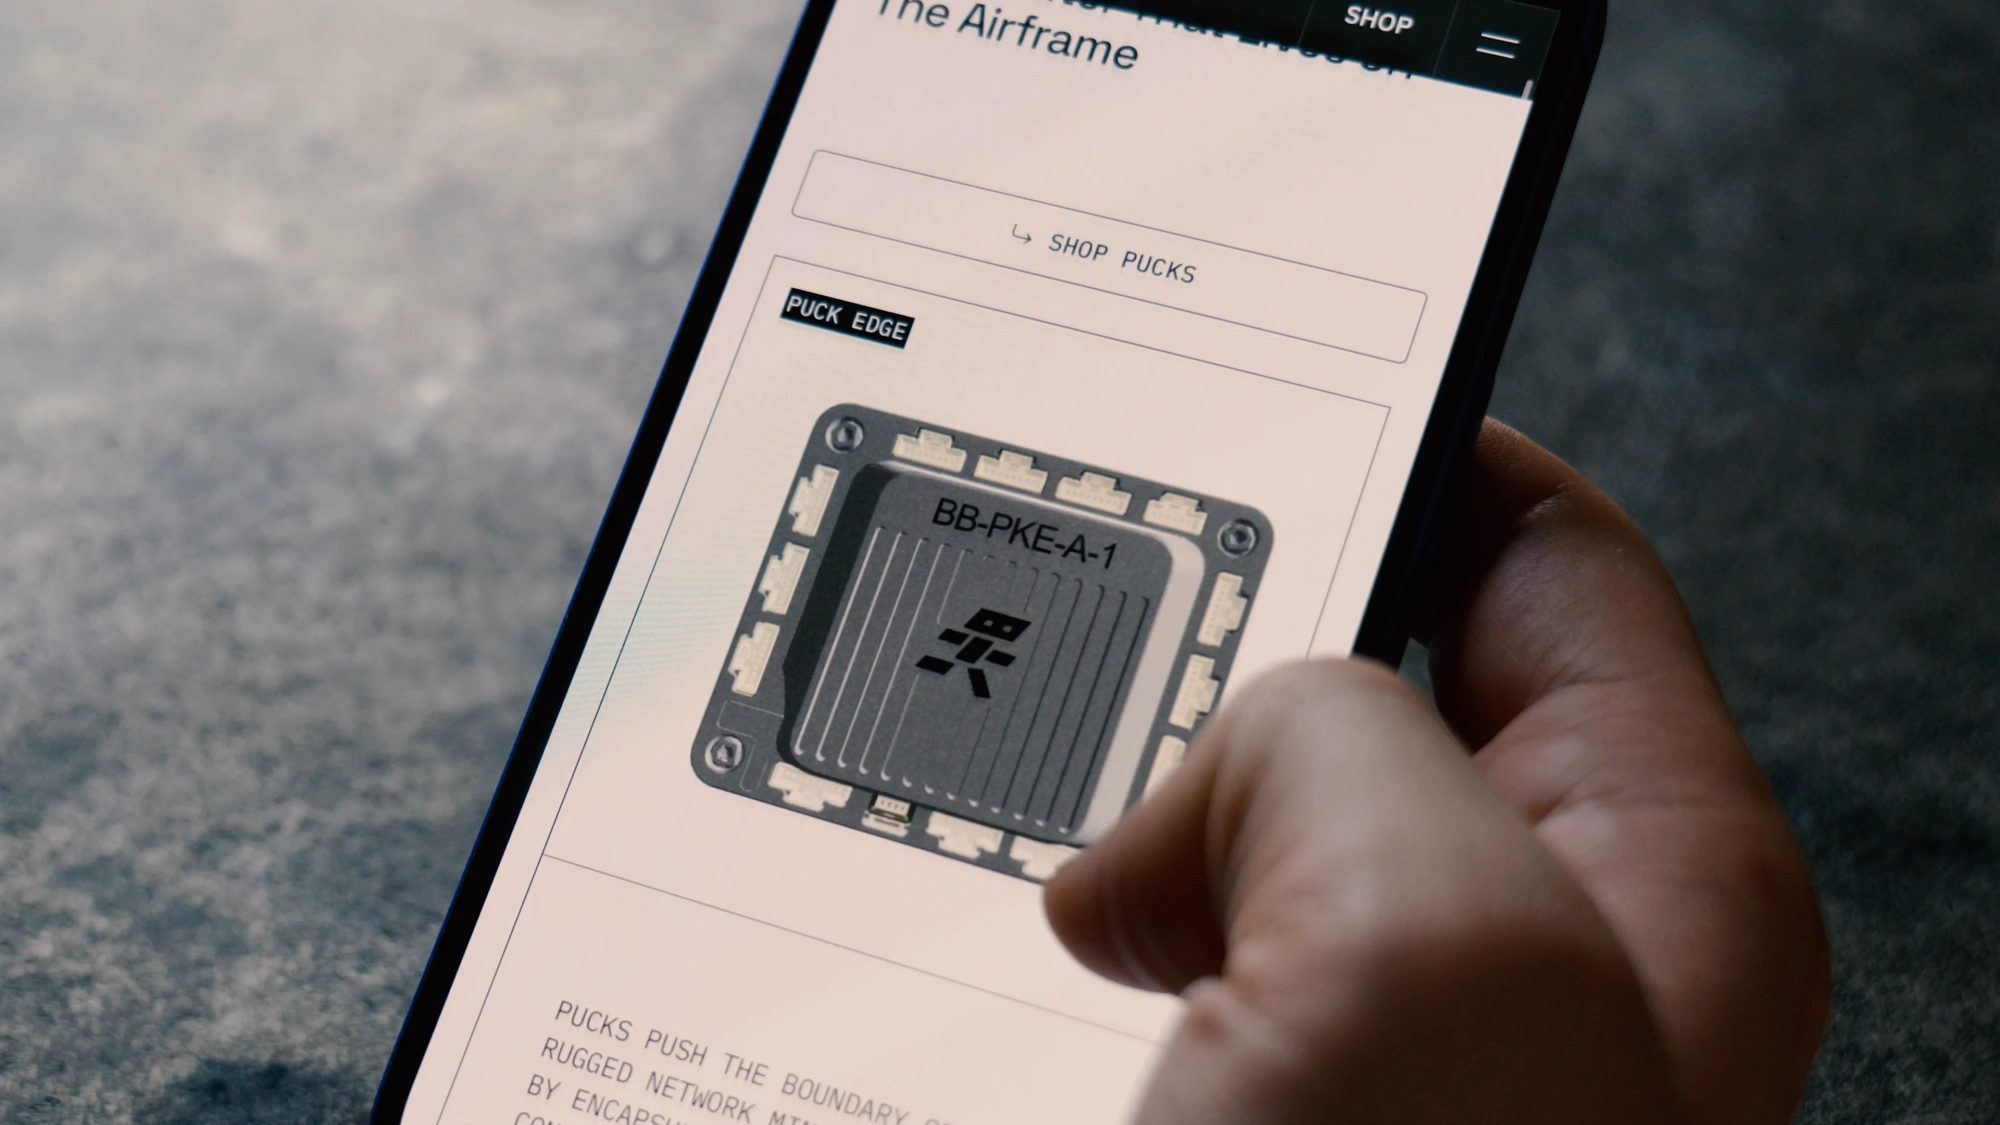
Some products operate where no photographer goes: subsea, in orbit, inside a pipeline. For BotBlox, whose rugged networking hardware runs on drones, satellites and subsea robots, a stylized 3D globe of operating environments places the product where it lives.
5. The invisible made visible: what is it sensing?
When the product measures or moves something invisible, design that thing. Kestrix's site walks visitors through thermal data from capture to insight, and BotBlox's animated circuit paths make data moving through the hardware tangible. The product becomes the story of what it reveals.
Match the visual to your product's stage
The right mix depends on how far along the product is, and it should change as the product moves forward.
- Concept, before a prototype: sketches, CAD views and clearly labeled concept renders. Show the design thinking and the problem, not a finished-looking product.
- Working prototype: real photos of the prototype, even imperfect ones, plus 3D for what's inside and how it works.
- Pilots and field tests: field footage and test data first, 3D only where cameras can't go.
- In production: professional product photography for proof, 3D for internals, product families and configurations.
The pattern that works at every stage: real images prove the product exists, 3D explains it. A site with only renders asks for faith; a site with only photos asks for imagination.
The honesty rule for renders
A render is legitimate when it shows how your product is built or how it works; it becomes a liability when it shows something your product can't do yet. Technical buyers and investors' experts look for that gap, and finding it once discredits everything else on the page.
The rules we apply with clients are simple:
- Label the stage: if it's a concept, say so on the page, near the visual.
- Never simulate a missing function: no animation of a capability still on the roadmap presented as current.
- Keep renders in sync with the product: when the design changes, the 3D model changes too.
- Add real proof as soon as it exists: one genuine prototype photo or test result is worth more than a perfect render.
Kickstarter sits at the strict end of this spectrum because backers pay before the product exists. A company website has more freedom, and the same obligation not to mislead.
From CAD file to web-ready 3D in about a week
For a complex product, count about a week of work to go from engineering files to a clean 3D model with final renders. Starting from CAD saves the modeling, not the work.
CAD is made for manufacturing, not for display. Blender, the tool we build all our 3D with, doesn't open STEP files natively: its import formats are mesh formats such as OBJ, so engineering files are converted first. Then the geometry usually needs fixing, since conversion leaves holes, duplicated surfaces and far more polygons than a browser should load. When the product has to be animated, parts must also be separated and organized so they can move.
That's how we worked for BotBlox: their STEP files were converted to OBJ, cleaned and optimized in Blender, then used for the product animations on the site. Without CAD, modeling from scratch depends entirely on the product's complexity.
Two practical points for founders. Blender's license makes everything created with it the sole property of its author, so your renders and models are yours to reuse in decks, datasheets and trade shows. And for the web, the final model is exported to glTF, the Khronos standard built for the efficient loading of 3D scenes, recognized as an ISO/IEC international standard since 2022. We explain why we use Blender for all of this in why Blender is at the heart of our studio.
Keep the 3D from slowing down the site
Real-time 3D is worth it when interaction adds understanding: rotating the product, exploding it on scroll, switching configurations. When it doesn't, a rendered video or a set of stills tells the same story at a fraction of the weight.
When we do ship real-time 3D, three rules keep the page fast:
- Poster first: a still render is visible immediately, and the 3D scene replaces it once loaded.
- Load on approach: the scene initializes only when the visitor scrolls near it.
- Graceful fallback: on low-end devices or with reduced motion enabled, the still stays.
This is also why the stack matters. We detail how isolated 3D scenes keep a site fast in Astro vs Next.js.
Checklist: does your website show your hardware?
- A visitor can tell what the product does from the first screen, without reading specs.
- At least one visual shows what's inside or how it works.
- At least one real photo, field image or test result proves the product exists.
- Every render is consistent with the current design, and concepts are labeled as such.
- Invisible physics or data is shown, not just described.
- The page stays fast on a mid-range phone, with a still image fallback.
We apply this method in our web design for robotics and hardware companies, usually alongside the storytelling principles in how to explain complex technology on a website. Most focused sites start around $6,000; projects with branding and custom 3D scenes typically reach $20,000 and more, over 8 to 12 weeks. If your product does more than its photo can show, talk to us.